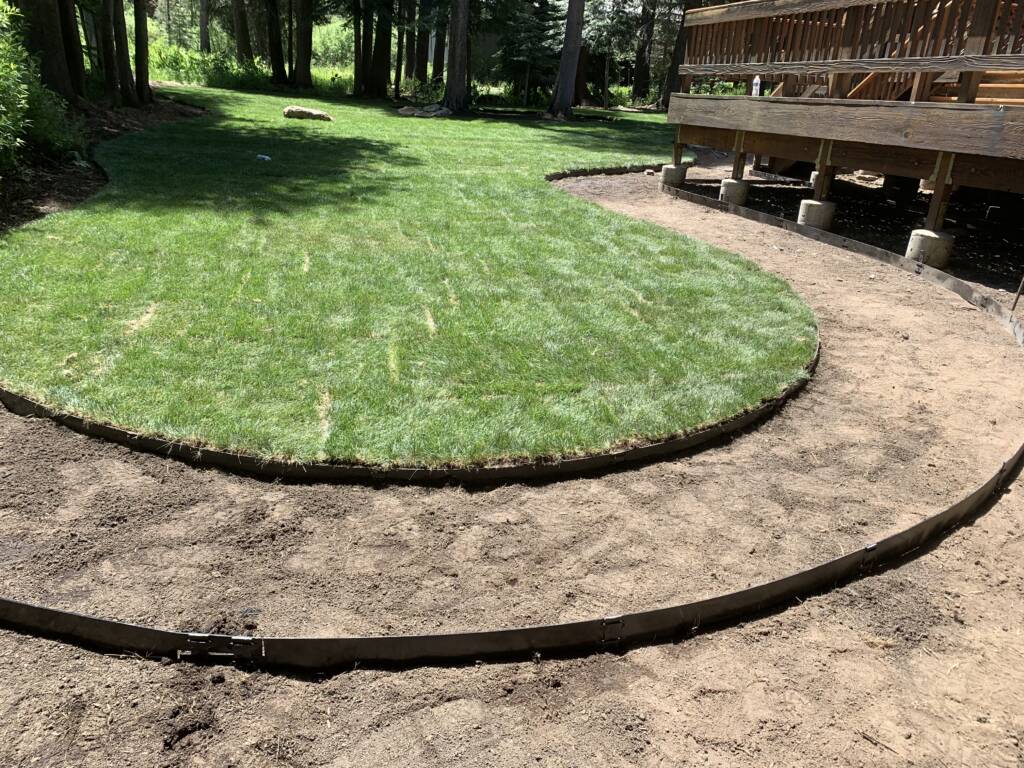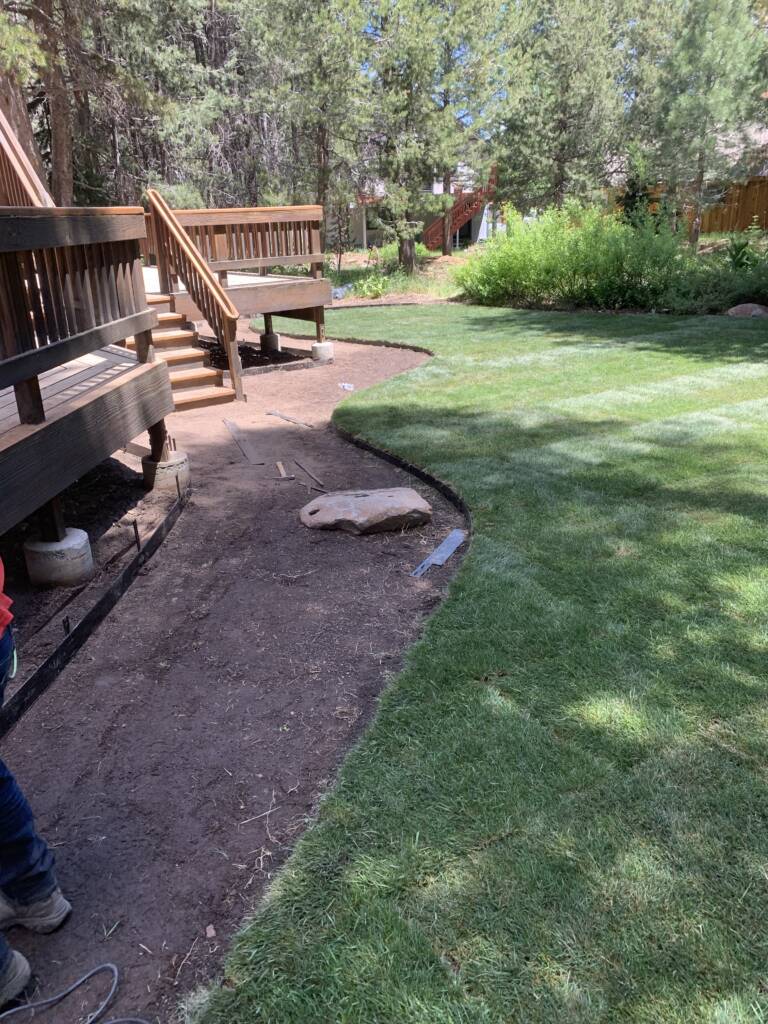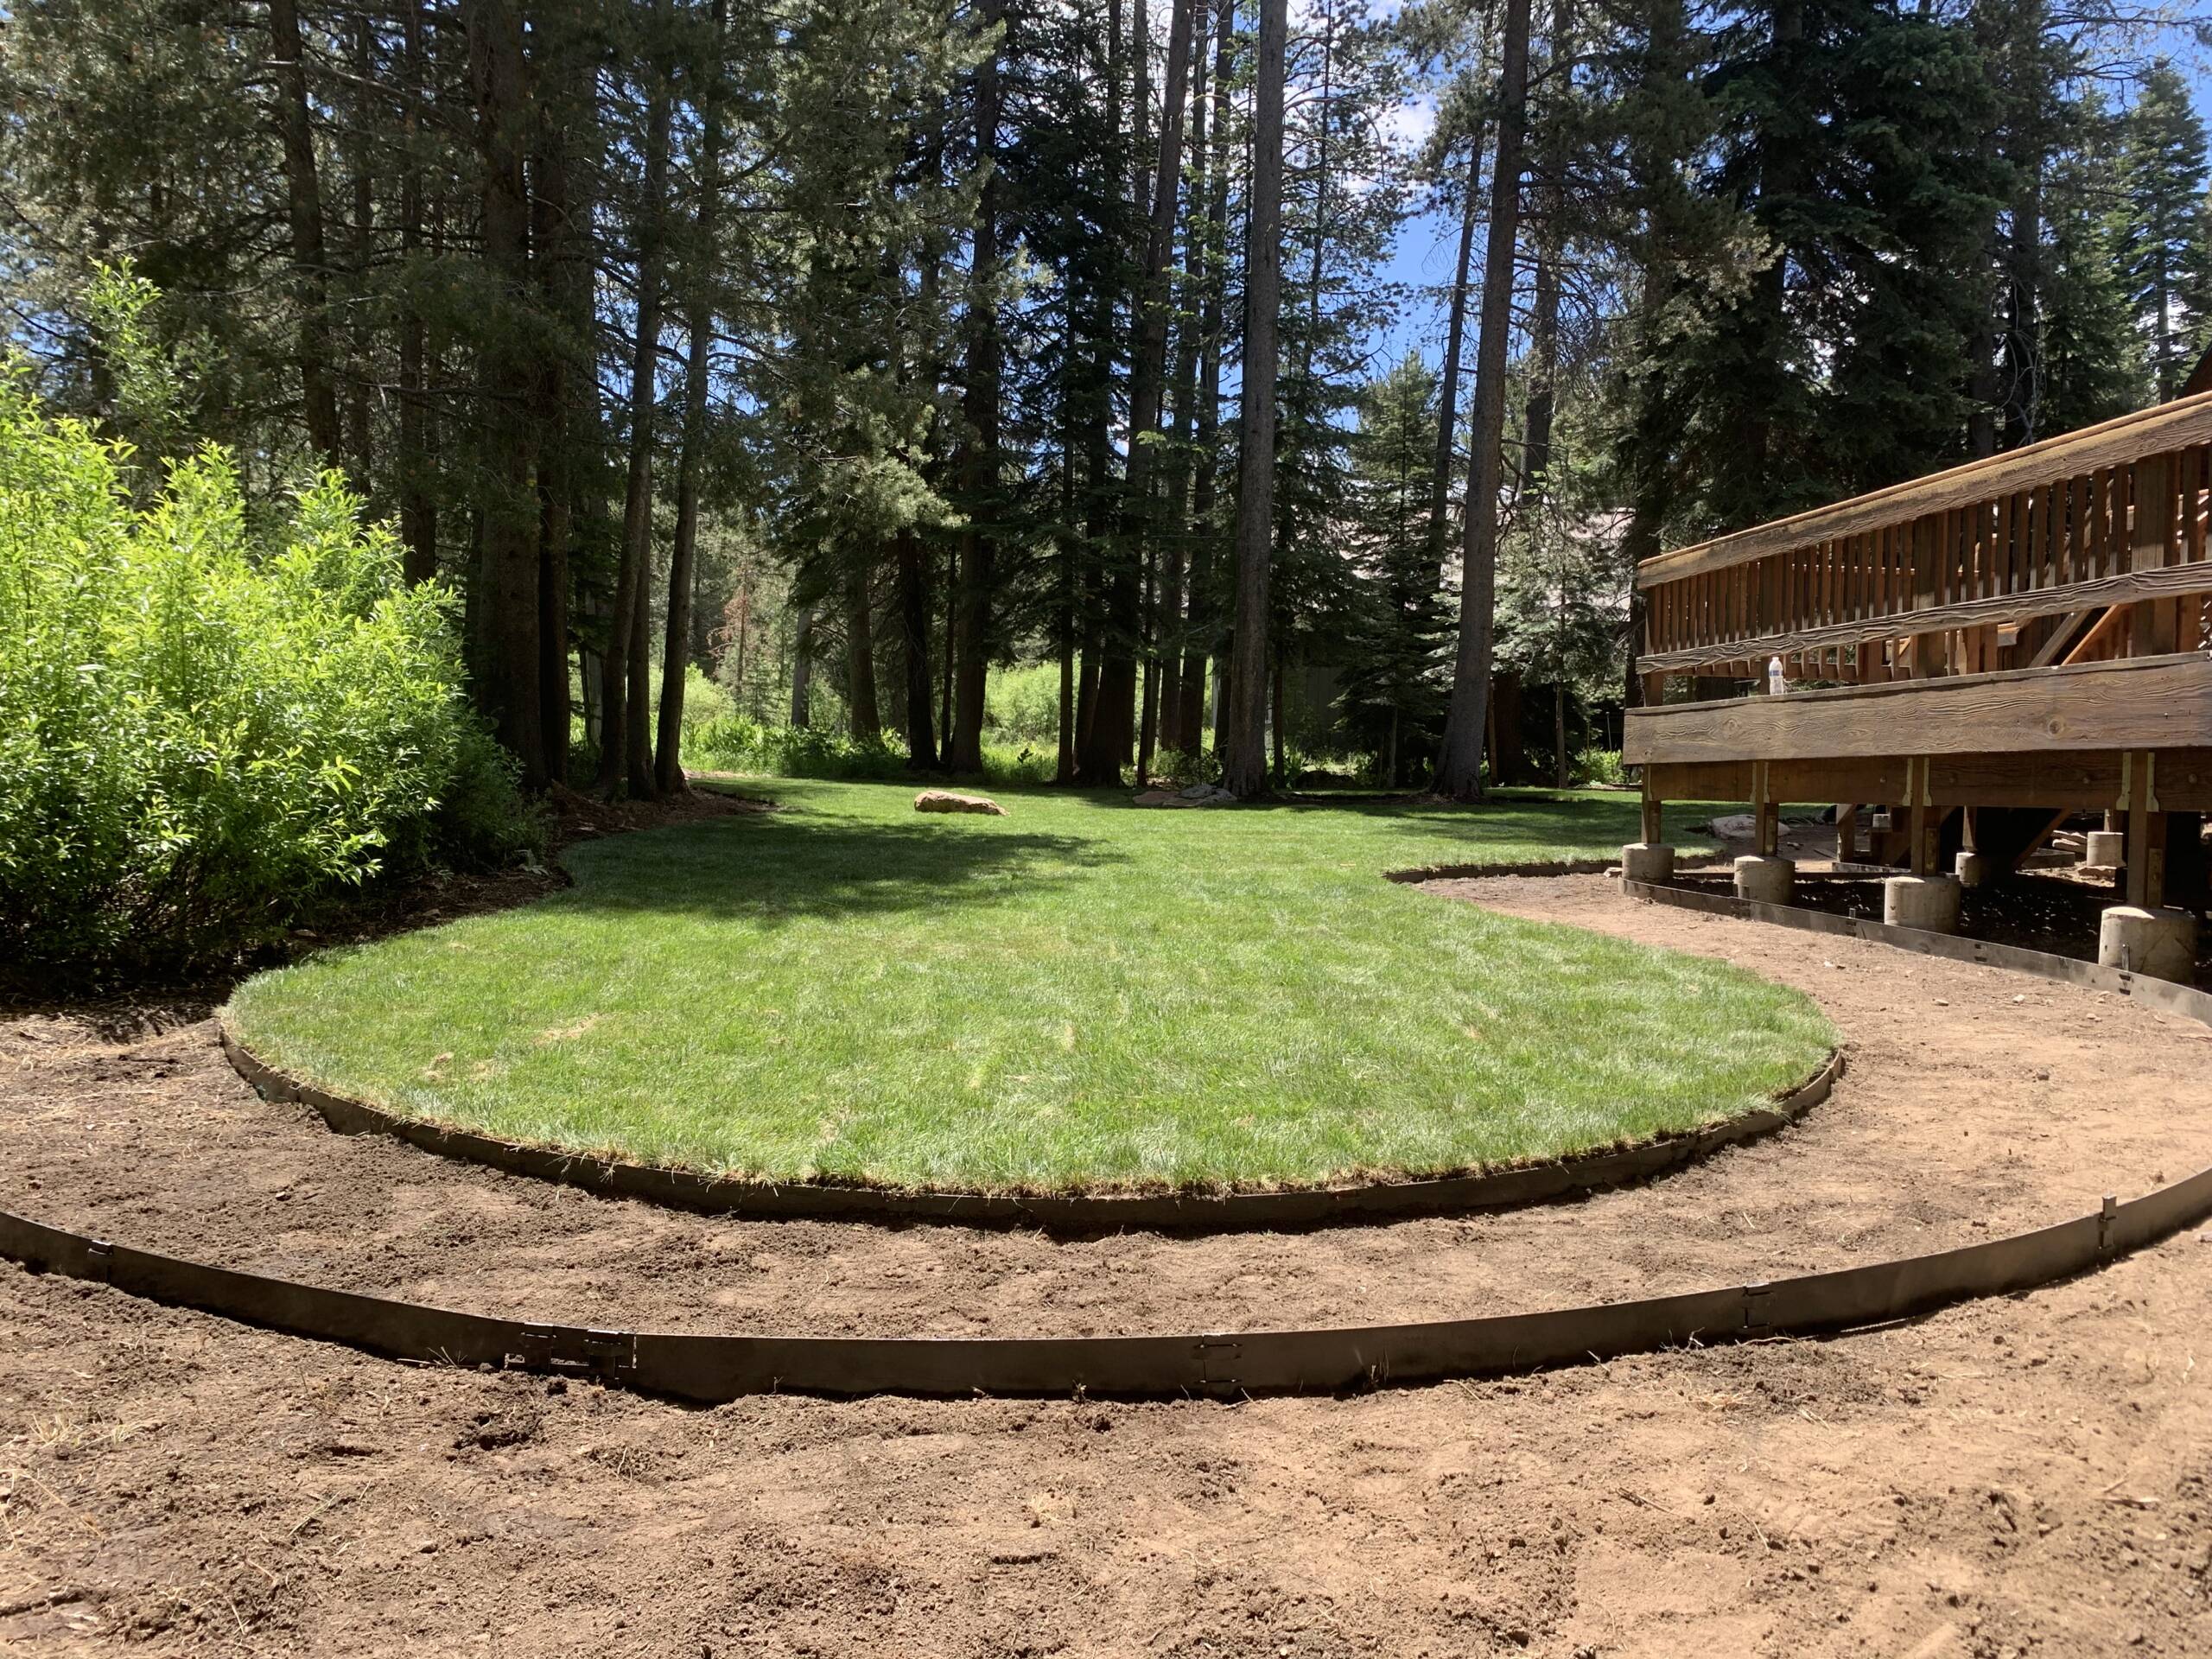
Backyard Upgrade with Sod
We recently completed a full sod installation for a spacious backyard that was previously patchy and uneven.
Our team prepped the area by leveling the ground, removing debris, and laying fresh topsoil to ensure optimal root growth. We then installed over 5,000 square feet of premium sod, transforming the yard into a lush, green oasis almost instantly. The result? A beautiful, ready-to-enjoy lawn that the homeowners can be proud of for years to come.
1. Clear the Area
We start by removing any old grass, weeds, rocks, and debris to create a clean slate.
2. Grade and Level the Soil
The ground is graded for proper drainage and leveled to ensure an even, smooth surface..
3. Add Topsoil
We bring in nutrient-rich topsoil to improve the base for healthy sod growth.
4. Soil Preparation
The soil is tilled and lightly compacted, then we apply starter fertilizer to encourage strong root development.
5. Lay the Sod
We lay the sod in staggered rows, like bricks, ensuring tight seams with no gaps for a seamless look.
6. Roll the Sod
A lawn roller is used to press the sod down and eliminate air pockets for better root contact.
7. Water Thoroughly
The newly installed sod is watered right away and then kept moist daily for the first couple of weeks as it takes root.